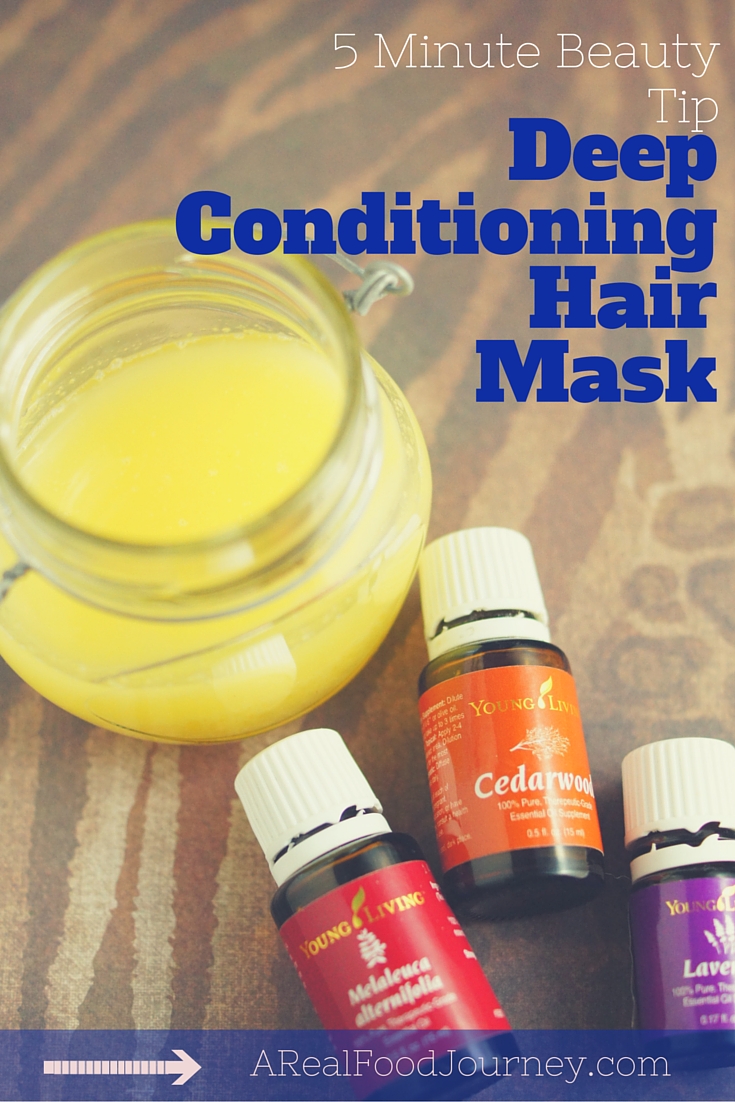
I set about doing my research on how I can give my hair some extra moisture, strength and fullness and this is what I came up with! It all started when I was talking to my hair dresser and she said a lot of clients were DIY conditioning with MAYO! Can you believe it? I knew right away I could do something similar myself!
I am really enjoying sharing some DIY personal and beauty products. Please let me know in the comments if you are enjoying them as well!
The Recipe – Time: about 5 min
Ingredients:
- 1 egg
- 1/2 cup coconut oil- fractionated oil works best since it stays liquid. I am using this one which is nice because it has a pump
- 1 tsp apple cider vinegar
- 1/ tablespoon gelatin –> What I am using
- 3-5 drops Cedarwood -I only use and recommend one brand on essential oils learn more here
- 3-5 drops lavender oils
- 3 drops tea tree oil- also know as melaleuca oil
Directions:
- In a jar or bowl mix all the ingredients but the essential oils and gelatin together. I used a mason jars and shook them.
- Add in the gelatin slowly while stirring
- Add in the essential oils.
How to apply the hair mask:
I use about 1/3 of this recipe on my hair at least twice a week. My hair is fairly damaged from bleaching and this treatment really helps! I need less products and styling tools to make my hair look nice! To apply, simple pour some on dry or slightly damp hair and comb though the ends. I apply from the middle down to the ends of my long hair. Apply in a similar way to a store bought deep conditioning treatment. I leave this on my hair for 10-20 min before rinsing out. I usually do this before a shower and then wash my hair with a gentle shampoo.
Why These Ingredients?
Eggs are great for you hair. The mix of protein from the white and fat from the yoke helps plump the hair shaft and lay the cuticle down. How it works is, your hair is made of protein and the protein in the egg helps fill in the shaft of the hair where it is weak and brittle, which gives you a lot of fullness to what may be limp damaged hair.
Coconut oil has been shown to actually penetrate the hair shaft, unlike most conditioners which just lay on top of your hair. Since the coconut oils can actually get into your hair it improves strength and flexibility of your hair. In tandem with the egg, one helps the outside and one helps the inside, a beautiful combination when it comes to hair.
Gelatin is pure protein and can help just like the eggs, in filling in the gaps in your hair’s shaft to promote a fuller mane!
Cedarwood and lavender essential oils are both known to be great oils for hair! Try them and you will soon find out! Tea tree oil is great for occasional flaky scalp and I would add it if you needed support in that area. What’s amazing is that cedarwood and lavender are both known to help calm the mind and promote relaxation to this treatment is amazing to do in the evening!
I hope you give this simple DIY beauty recipe a try, you hair will love the treatment!
Cheers,
Heather
Paid Endorsement Disclosure:
In order for me to support my blogging activities, I may receive monetary compensation or other types of remuneration for my endorsement, recommendation, testimonial and/or link to any products or services from this blog.
However, I’m never going to recommend, or say anything that I don’t Love or completely believe in. Please rest assured that my deepest desire is to empower you to make the best choices for health and healing possible.
Medical Disclaimer:
Our content is not intended to replace professional medical diagnosis, treatment or advice. Information obtained from this site should never cause disregard or delay seeking advice or treatment from a medical or healthcare provider. We do encourage everyone do their own research before making informed decisions. Use of any information from the content of this site solely at your own risk.


melissa says
October 29, 2015 at 4:59 pmThis recipe Looks great! I don’t dye my hair anymore but still have some residual left on the lower lengths of my hair that hasn’t grown out yet. I bet this would really help to keep it healthy.
Heather says
October 29, 2015 at 5:03 pmLet me know if you try it Melissa!
Emily @ Recipes to Nourish says
October 29, 2015 at 5:13 pmThis is cool! I’ve never done a hair mask before. Love these essential oils 🙂
lindaspiker says
October 29, 2015 at 5:34 pmSounds wonderful!
Heather says
October 29, 2015 at 5:50 pmThanks!!
HolisticHealthHerbalist says
October 29, 2015 at 5:45 pmMy hair is always a frizzy mess so I’m constantly on the lookout for deep conditioning treatments. Time to give this baby a try! 🙂
Heather says
October 29, 2015 at 5:50 pmLet me know how it goes!!
Elaina Newton (@TheRisingSpoon) says
October 29, 2015 at 8:35 pmThis sounds awesome! It’s been awhile since I dyed my hair. I usually go for browns or reds, but have always wanted to do a blue, but the bleaching part stopped me. Filing this away to try in the dead of winter when my hair needs some TLC! 🙂
How We Flourish says
October 30, 2015 at 11:32 amThis looks great, and I already have most of the ingredients. I don’t color my hair, but it could still always use a mask.
Lindsay says
November 11, 2015 at 12:57 amCan you refrigerate it to make a batch up or?
Heather says
December 1, 2015 at 11:35 pmYes I would refrigerate the mix if you don’t use it right away.
Sarah says
February 2, 2019 at 9:03 amI just got out of the shower after using this treatment! I won’t use gelatin since it usually comes from pigs and I added honey since I’ve seen that in many masks. I followed it up with homemade shampoo and an apple cider vinegar rinse. My hair feels a lot thicker and smoother and my curls formed themselves up quite nicely on their own. I still used my (also homemade) curl gel this time because I’m going out, but I think next time I’ll let it dry naturally and see what happens! (Worst case is it gets a bit frizzy and I straighten it!) Looking forward to using the rest of this batch!
Heather says
April 18, 2019 at 11:24 amI’m glad to hear it worked well for you!
Jacki says
May 27, 2019 at 6:40 amHomemade curl gel??? Share please. I’m trying to use only safe, healthy, chemical free products…very hard to find!
Sarah Rivers says
November 27, 2019 at 2:21 pmHi Heather! I tried your conditioner and loved the way it made my hair feel however I had a heck of a time getting the lumps out when I added the gelatin. I’m sure I did it too fast but do you have any tips on mixing and getting it smooth?
Thank you,
Sarah
Heather says
November 28, 2019 at 8:32 amYes, just add it really slowly and stir stir stir. Last time I made it I just added a little at a time and stirred before adding more. It also helps not to add in a pile but more like sprinkled over the top!